
The easiest way to deploy a website to Azure with Azure App Service June 24, 2019 by ben2code Hi developers ,
Today , we are going to learn the simplest way to deploy a website to azure (faster than you think ). for that , we are going to need 3 things :
Set up Visual Studio Code Microsoft Azure FileZilla (client) so let’s start our Demo !
Set up Visual Studio Code First what is Visual studio Code ? some of you may only know visual studio and note Vs.Code !
Visual Studio Code is a popular choice for developing applications for Azure. It’s lightweight, taking up only megabytes of storage space, and works on Windows, Linux, and macOS.
Visual Studio Code is a free source code editor developed by Microsoft. It supports hundreds of programming languages, includes Git integration, and is designed to connect to Azure cloud services.
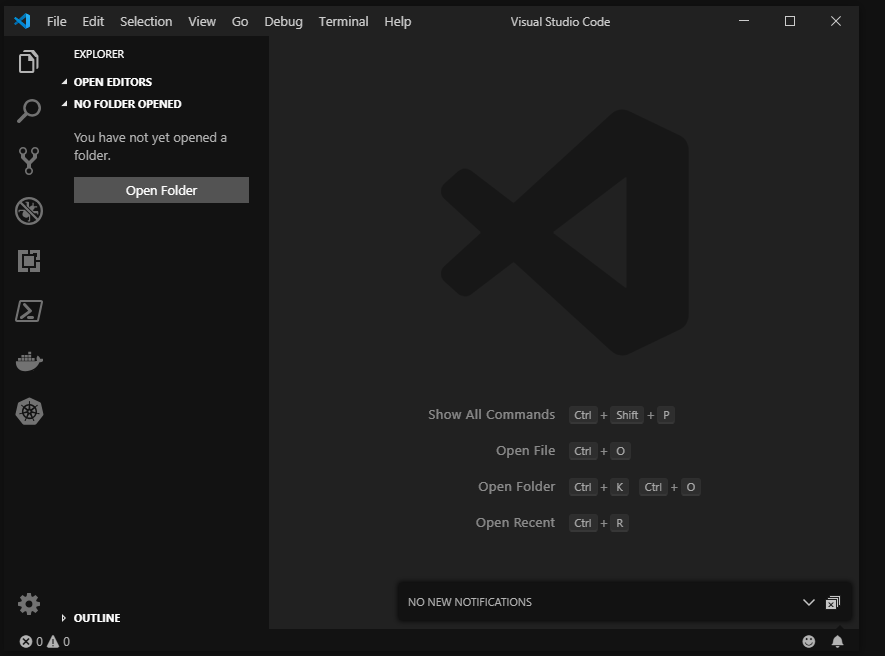
First step is to download and install Visual studio code using this Link and you will have visual studio code installed like this :
now , we need to add an extension to vs.code which is Azure App Service extension
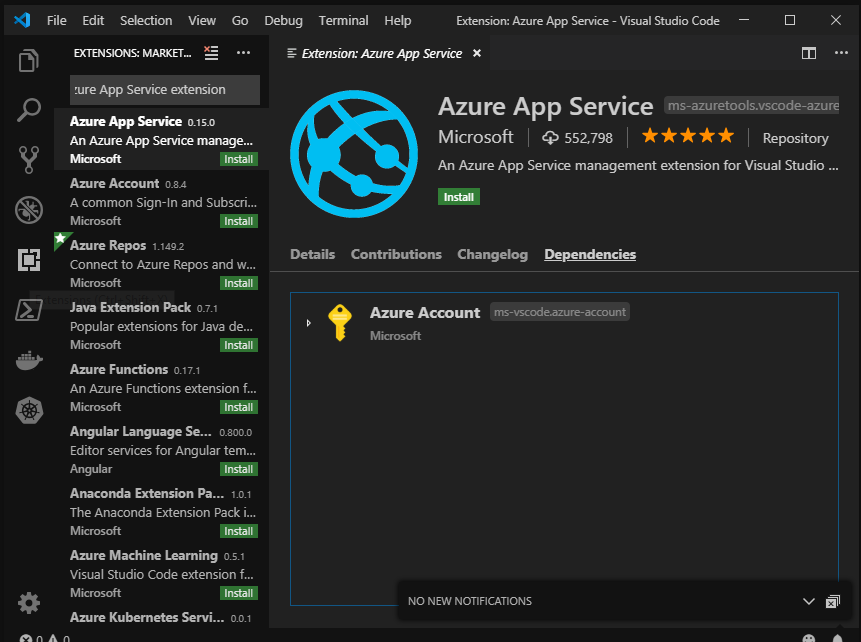
This will install the extension. You’re now ready to connect to your Azure subscription and deploy a web, mobile, or API app to an Azure App Service. in our case , we are interested in Web App.
Create a web app in the Azure portal Now after setting up Vs. Code , we need to prepare our azure account for that , you can create a free account on Azure to host your Web app for free . from here , you can see the list of free products and for students , you can get an account with more free product from this link .
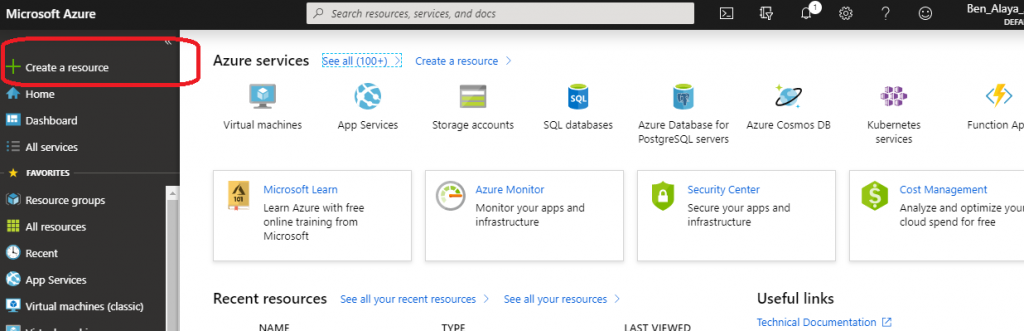
Now , Sign into the Azure portal using your account , Click the Create a resource link at the top of the left-hand navigation. Everything you create on Azure is a resource.
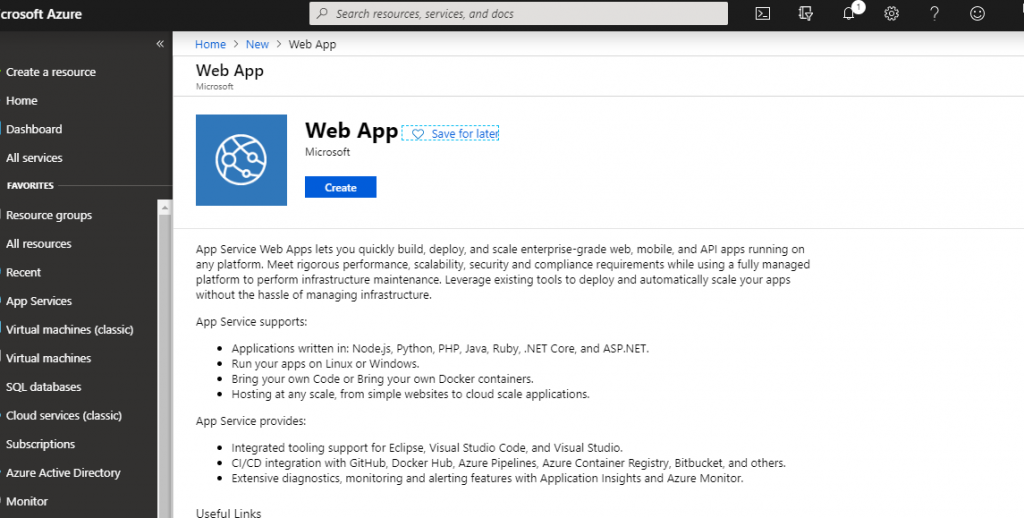
now you have to choose : Web APP
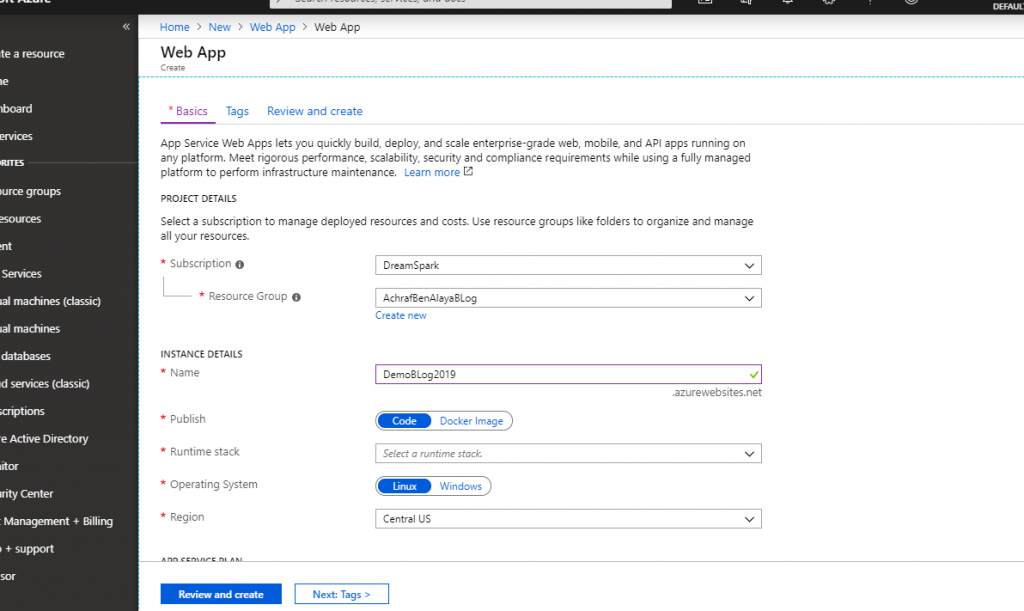
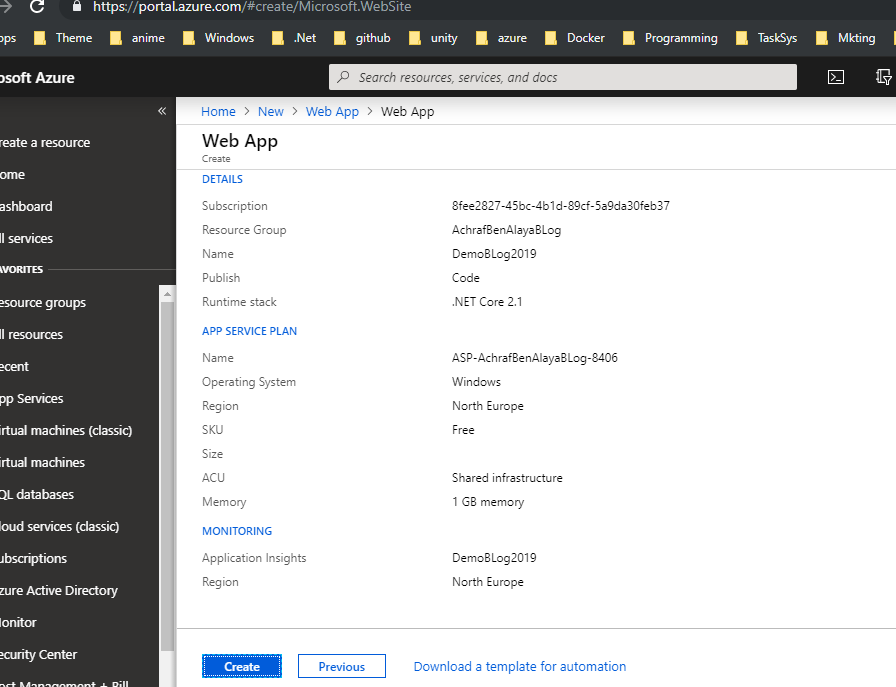
App name : Your client wants to name the application , so here you have to give it a unique name . Subscription : here you choose your default subscription . OS : here you choose if you want to deploy your app on Linux machine or windows Publish : You can choose to either publish code, or a Docker container image. We will be writing code to run in App Service, so make sure the Code option is selected. Region : select the location or region that will store the Application data .
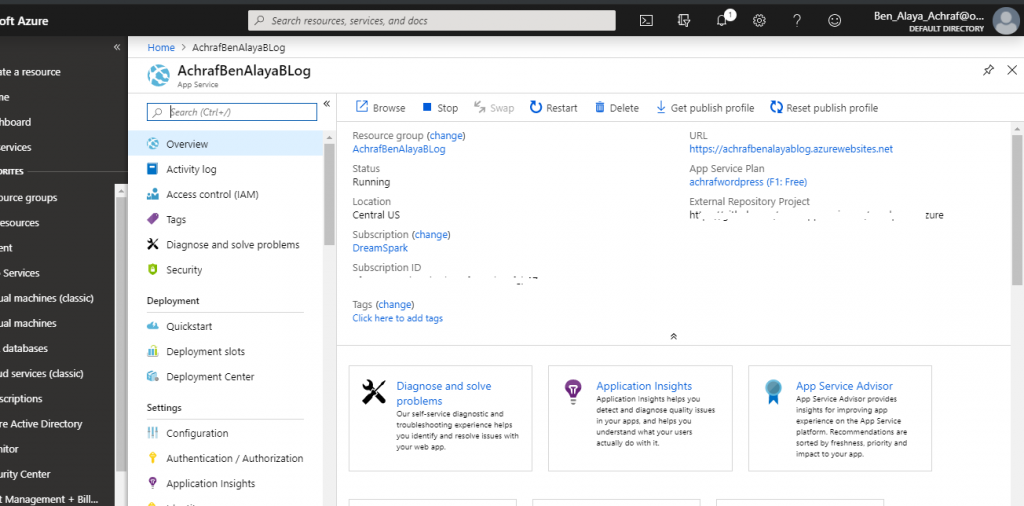
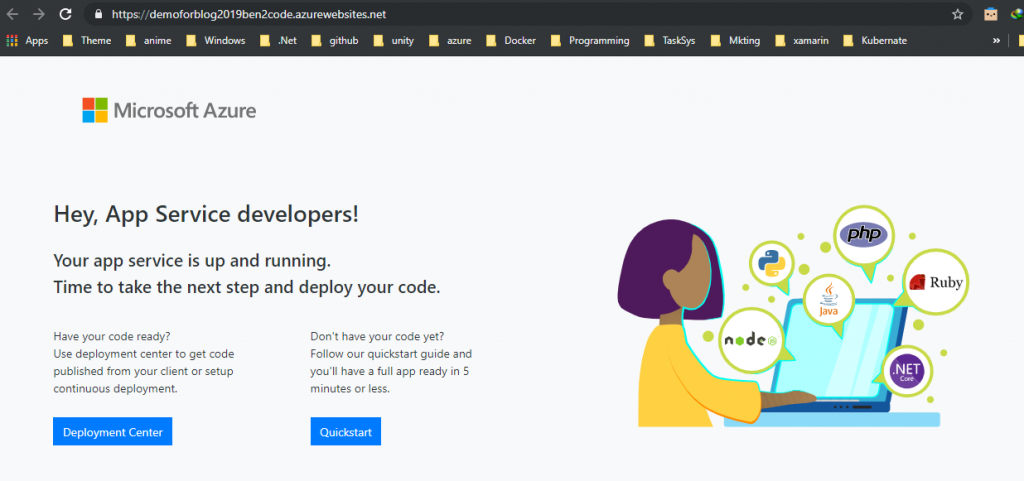
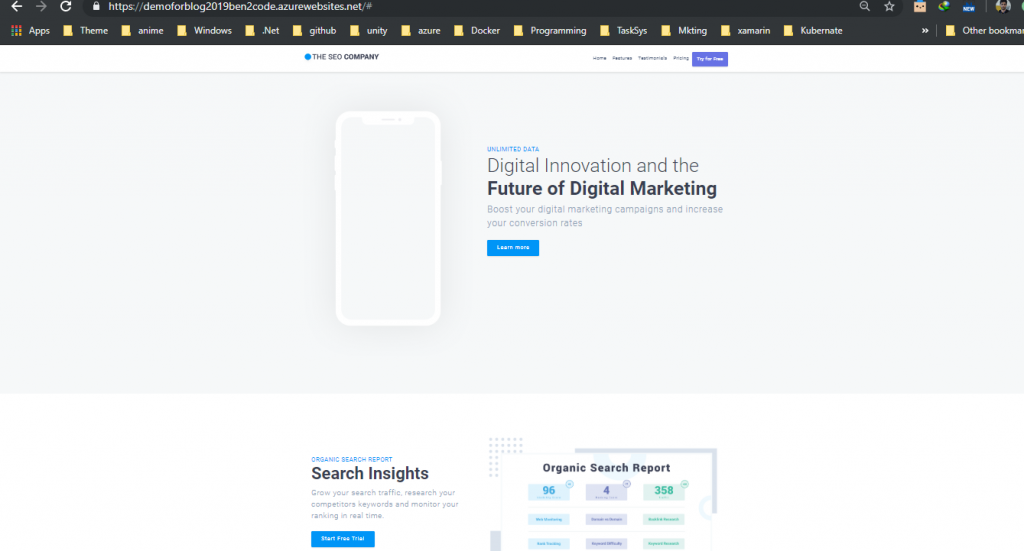
Here we have our application ready to go , on top right , you can see URL , clique on that link .

I have downloaded a free template here (html template for test purpose) and I just changed few things using visual studio code .
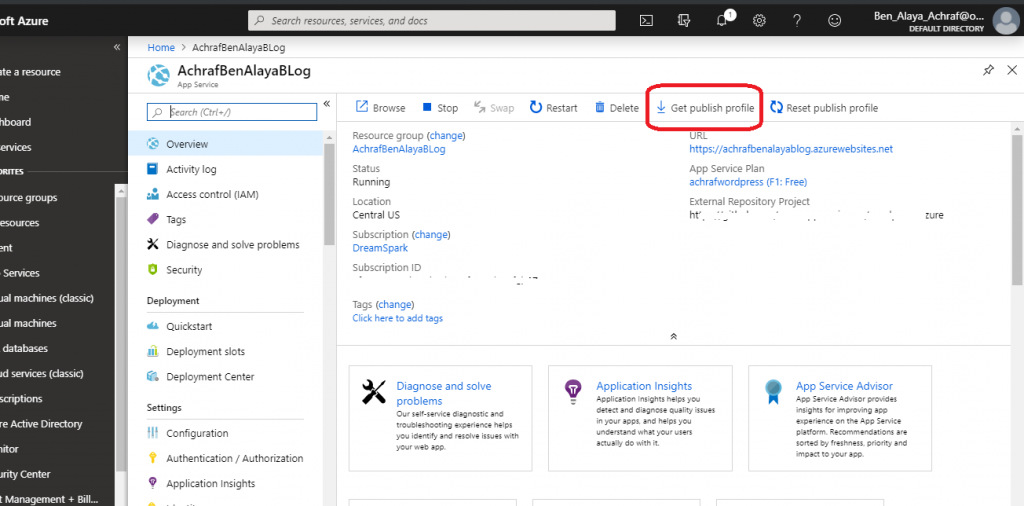
now , for the first part of this “azure section” we are going to deploy a website using filezilla for quick demo , in the next article we are going to see how to publish a netcore app using vs.code or visual studio . now let’s download our publish profile , where we are going to find filezilla credential (host /username and password)
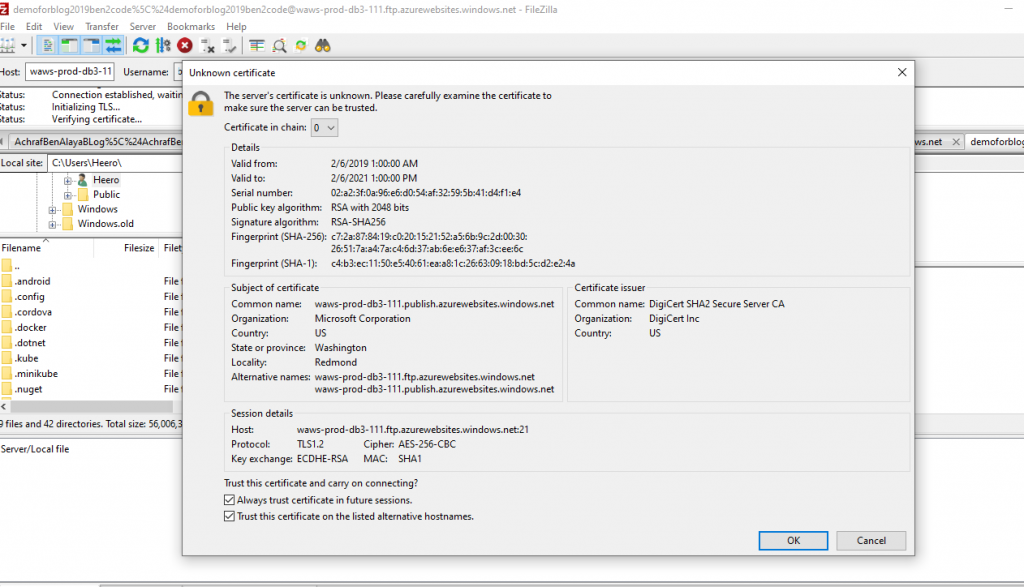
Use the credential you have downloaded earlier and connect to server.!
as you can see here we have the default hosting page that have launched earlier . Now , what we need to do , is to delete that file and copy our directory files under the wwwroot folder.
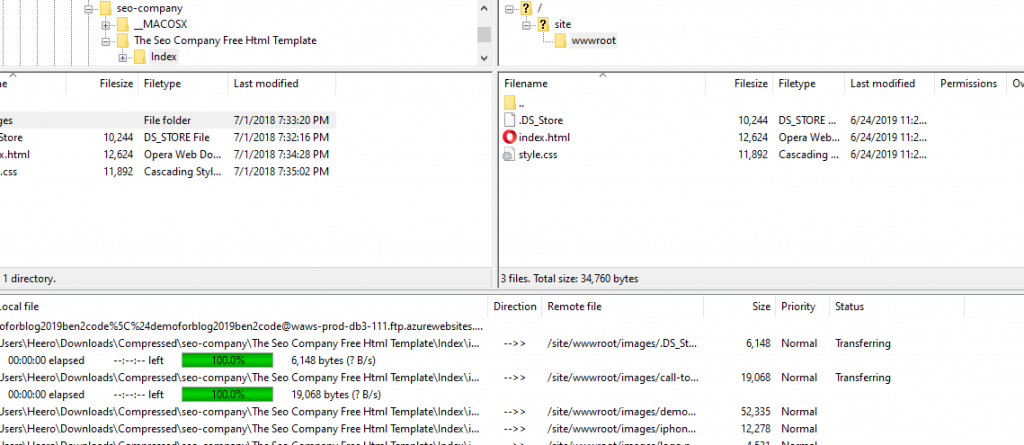

woooot , if you refresh your navigator , your website now is ready && live and ready to be shared with your friends ! why not ? create something great and share it with your friends , share a school project or event deploy your portfolio or your resume !
Happy Azure day =)
Link for the demoapp : https://demos.onepagelove.com/html/seo-company/